

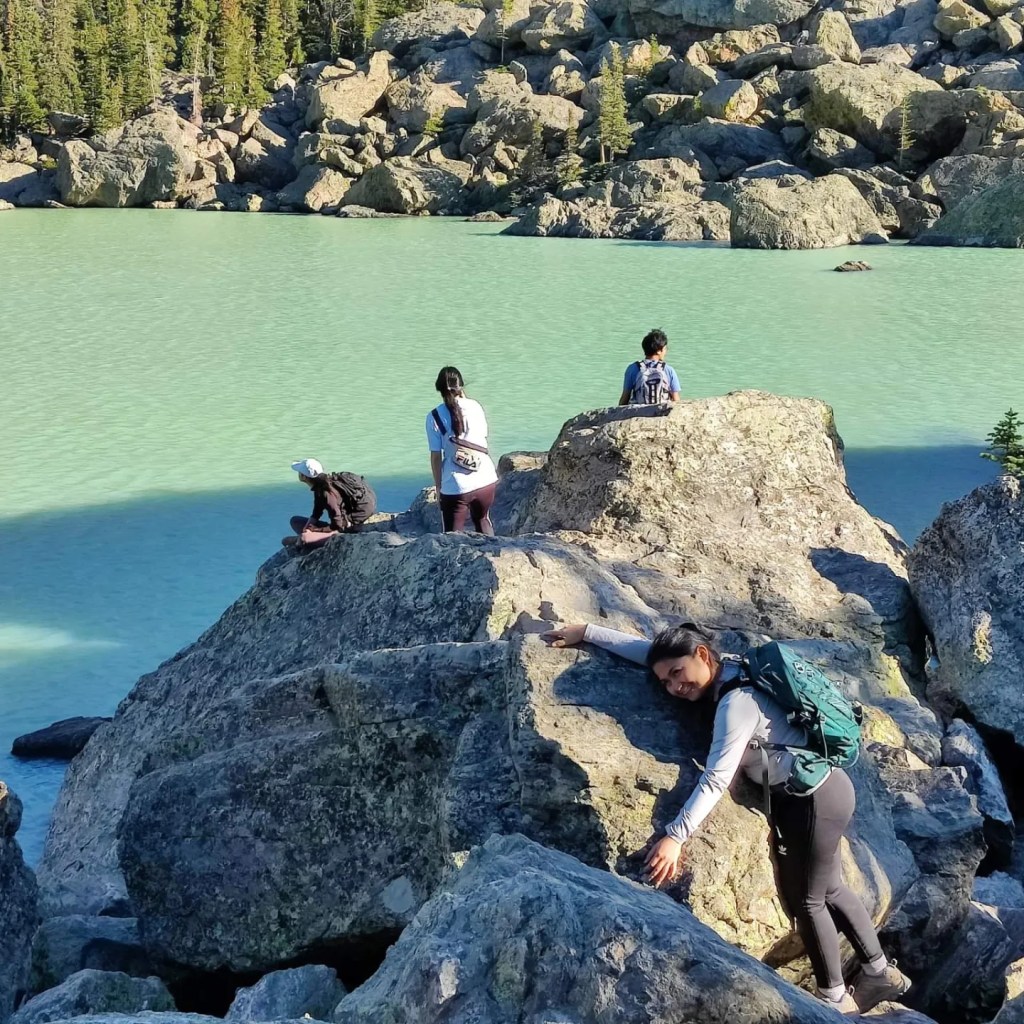
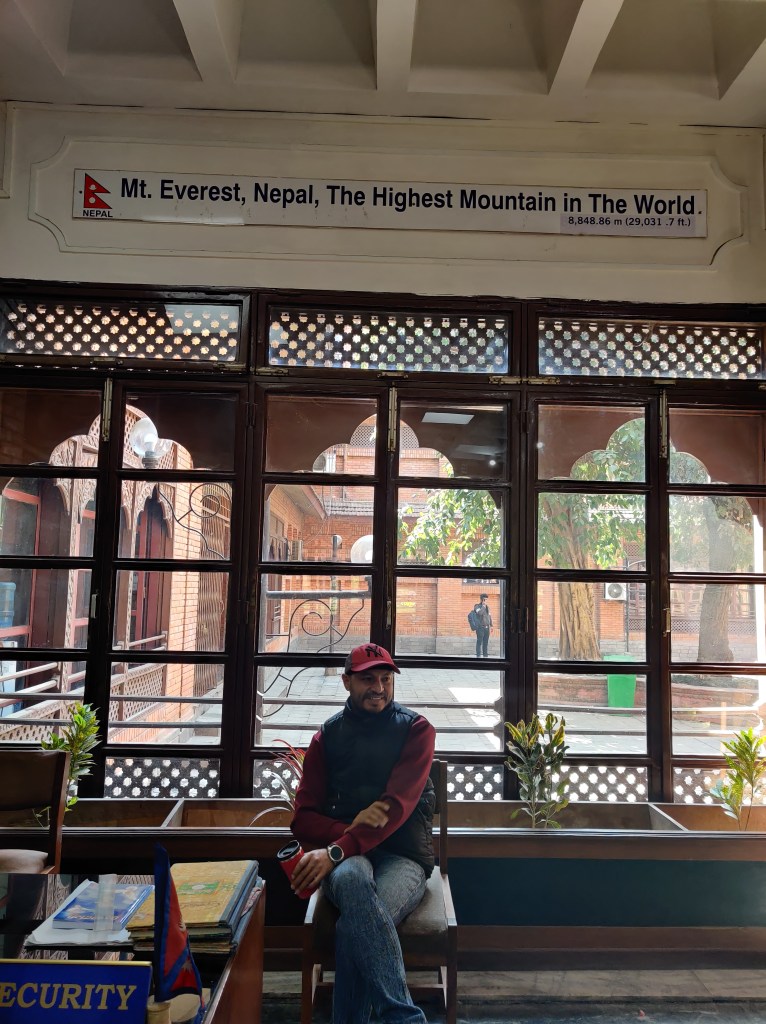
Nepal is a country in Asia landlocked by India and Tibet. Nepal has eight peaks higher than 26,000 ft. The famous 8 peaks are Kanchenjunga, Lhotse, Makalu, Cho-Oyu, Dhaulagiri, Manaslu, Annapurna, and the most famous and the tallest of all Mt. Everest at 29,032′. There is no question why Nepal is a dream destination for the many especially to hikers and mountain climbers. The great news is you don’t have to hike Mt. Everest peak to enjoy the Himalayas. A trek to the base camp (EBC) is equally fulfilling. As of April 1, 2023, Nepal banned all independent treks to the Himalayas with the exception of the Everest region. You can still trek through EBC without a guide and a porter.
Hiring a guide is a personal choice. I recommend hiring hiring one if it’s your first time trekking, but if you have an experience and you enjoy your own company then being with a guide is not for you. Not hiring a guide requires more time and research but it’s definitely doable. Here are my tips on how to plan a trek to Everest Base Camp without a guide and a porter.
KNOW WHEN TO GO
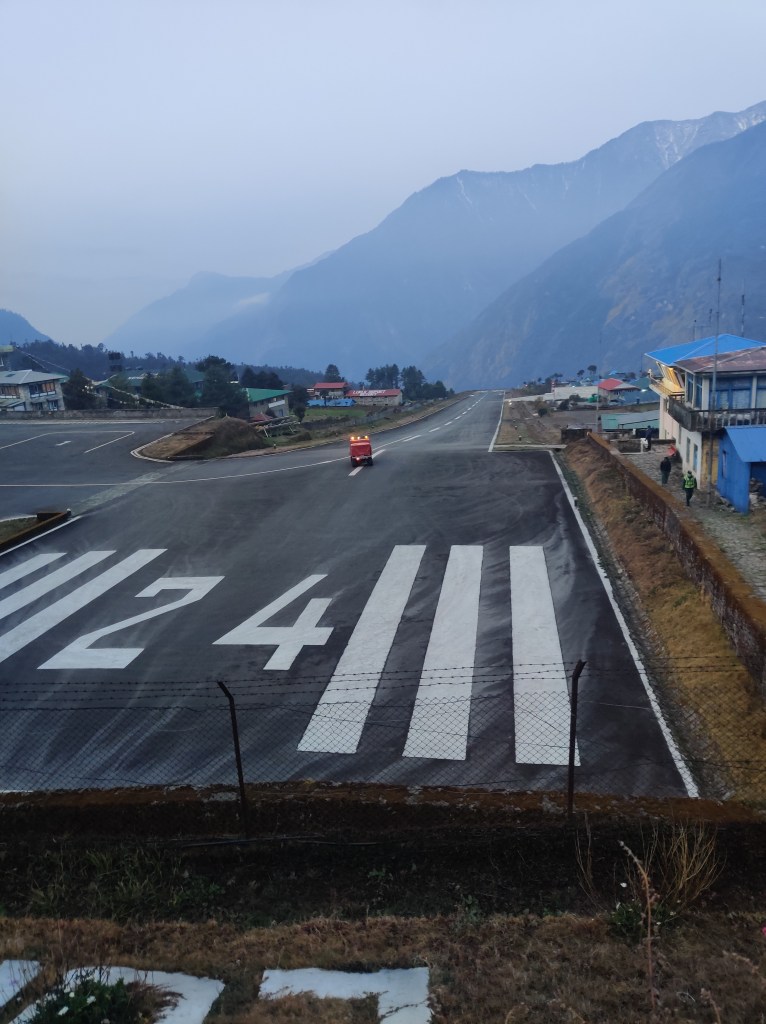
It is important to be aware of the best months to hike the EBC. Rain and snow can significantly affect your trek. Clouds and fog can hinder visibility plus snow and ice can make trekking dangerous. The flights to and from Lukla rely heavily on good weather. A small weather change may cause flight cancellations. The best months to hike EBC will be March to May or September to November.
PLAN YOUR ROUTE
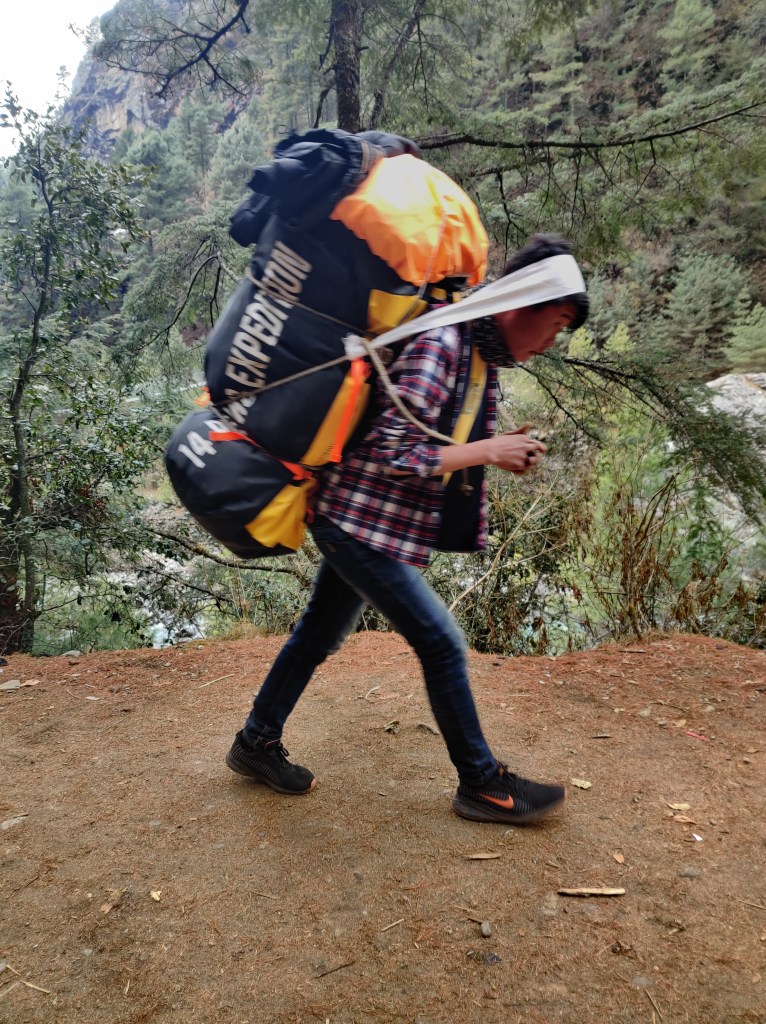
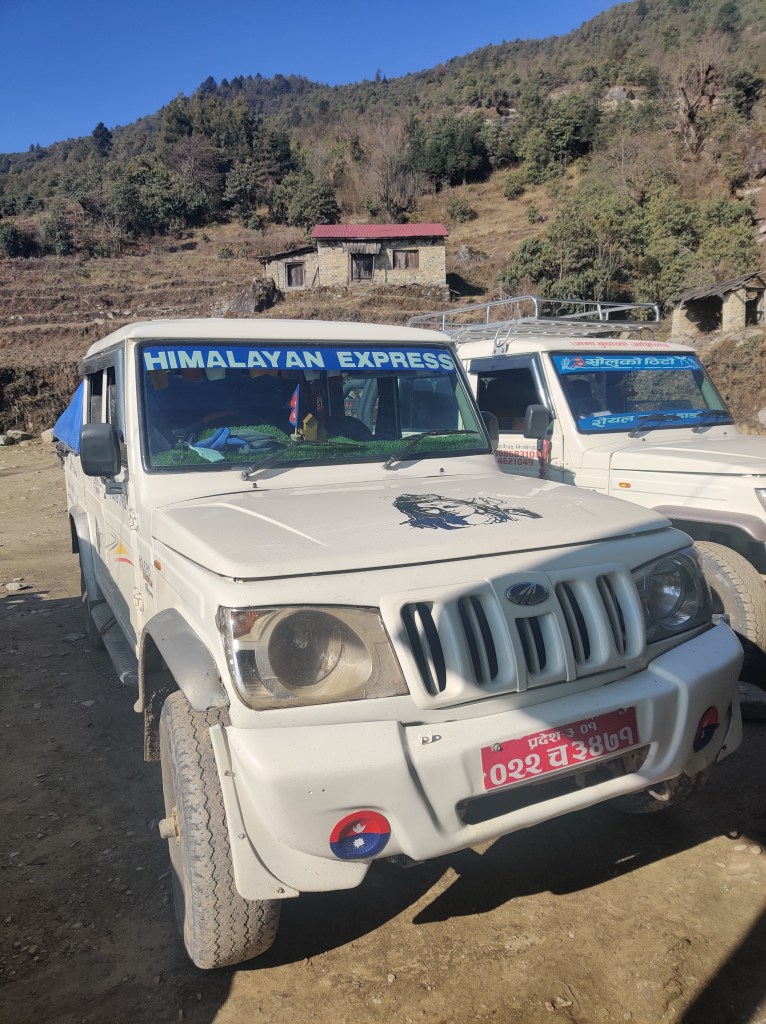
Before booking your flight, figure out your route and your skills. Will you be flying to Lukla or will you be taking a jeep to Jiri, Salleri, Bupsa, or Pahplu? Can you hike 6 miles a day in elevation, or are you better off hiking less than 5 miles a day? Just because some people can hike from Dingboche to Gorakshep in one day, it doesn’t mean you can. Know your self and never compare yourself to others. The amount of miles you spend hiking a day and where you start your hike will affect the number of your trekking days. Most trekking companies spend about 14 days. Since you won’t be having a guide, you can have as many days as you want. Make sure to have extra days to account for acclimatization hikes, possible emergencies, weather changes, and save a day or two to organize the necessary permits. I suggest spending 1-2 nights in Kathmandu before starting your trek, take this time to organize your permits or buy a plane or jeep tickets.
We used Gaia GPS and Maps.me in planning our trekking route. I planned all the major stops and my husband double checked the mileage and the elevation gain. When planning your daily mileage, keep in mind that hiking in elevation can be very tough especially for people living at sea level.
VISA
For US citizens, visa on arrival is available once you land in Kathmandu. You can apply for a visa in advanced but I suggest opting for a visa on arrival. It’s quick and hassle free. Visa fees: $30.00 for 15 days, $50 for 30 days, and $125 for 90 days. For updated information check the Nepal Immigration website before booking your flight.
GEAR LIST
Everything I brought on the trek:
- REI Merino wool long sleeve shirt
- Merino wool t-shirt from Decathlon
- One shaper bra from Boody
- Five merino wool undies
- Two Savanna hiking pants from REI
- Thermal top and pants for sleeping
- Thick merino wool long sleeve shirt from Decathlon
- Three pairs of merino wool socks, one pair I use exclusively for sleeping
- Neck gaiter by Metarino: It’s important to keep your mouth and nose cover to keep the moisture in. This will prevent the Khumbu cough.
- Medium sized quick drying towel
- Sleeping bag rated for 15f by Hyke and Byke
- One down jacket by Mountain Hardware- It will be cold, make sure to bring decent layers.
- One vest by Smartwool.
- One jacket from Decathlon
- Toiletries: TP, Wipes, no rinse soap, lotion, moisturizer, sun cream, deodorant, toothpaste, hand sanitizer
- Meds: NSAID, diamox, antibiotic cream and pills, vitamins, band aid
- Fanny pack by Cotopaxi
- Nikon d750 dslr camera
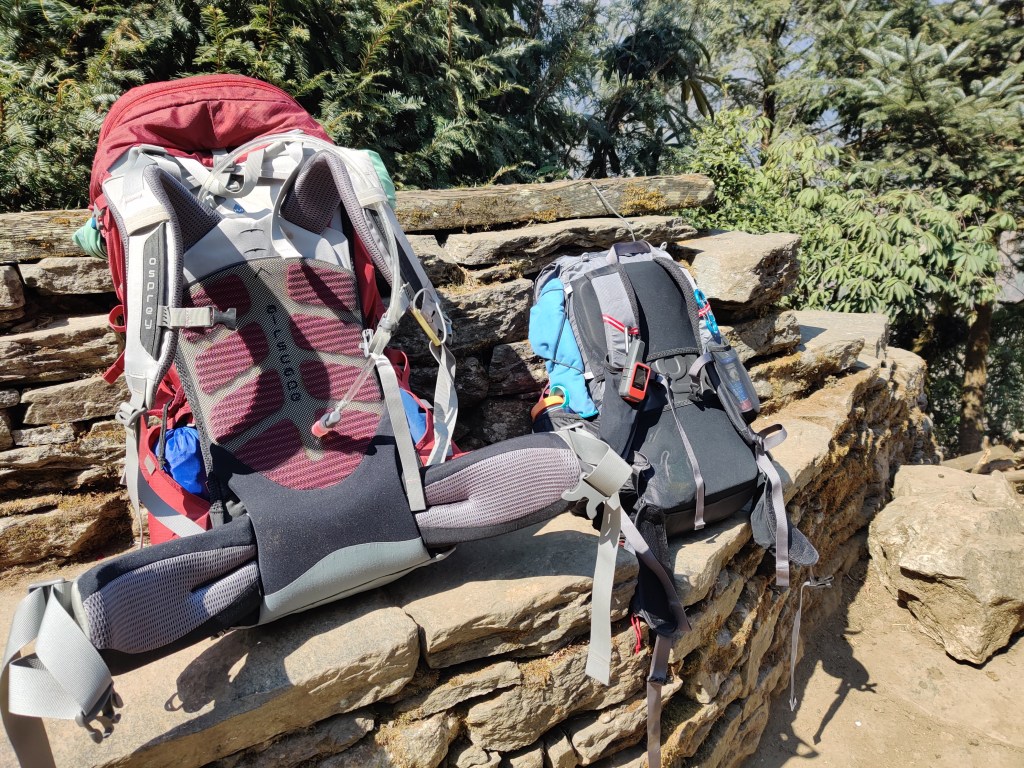
- The backpack I used is by Gossamer Gear Kumo in small, it weighs about 1.5 lbs
- Nalgene 1.5 L bottle
- Headlamp and pulse oximeter
- Moab 3 hiking shoes I got from REI
- Northface summit series rain jacket (purchased in Kathmandu)
- REI hiking sticks
- Gloves
- Garmin In Reach Mini
You can purchase your gear in Kathmandu, but I believe in testing everything before your trip especially when it comes to shoes. Make sure it fits you perfectly to prevent blisters.

Do not bring too much but bring what you really need. It will always be cold in Dingboche and the higher towns, make sure you have enough clothing to keep you warm. You won’t be needing to pack a tent as there will be accommodations (tea houses) along the trail.

Instead of bringing a water bladder, I opted for a Nalgene bottle. The wide opening made it easier to add aquatabs and electrolyte tablets when needed. Also, filling a Nalgene bottle with hot water then tossing it inside a sleeping bag makes a cold night more comfortable.

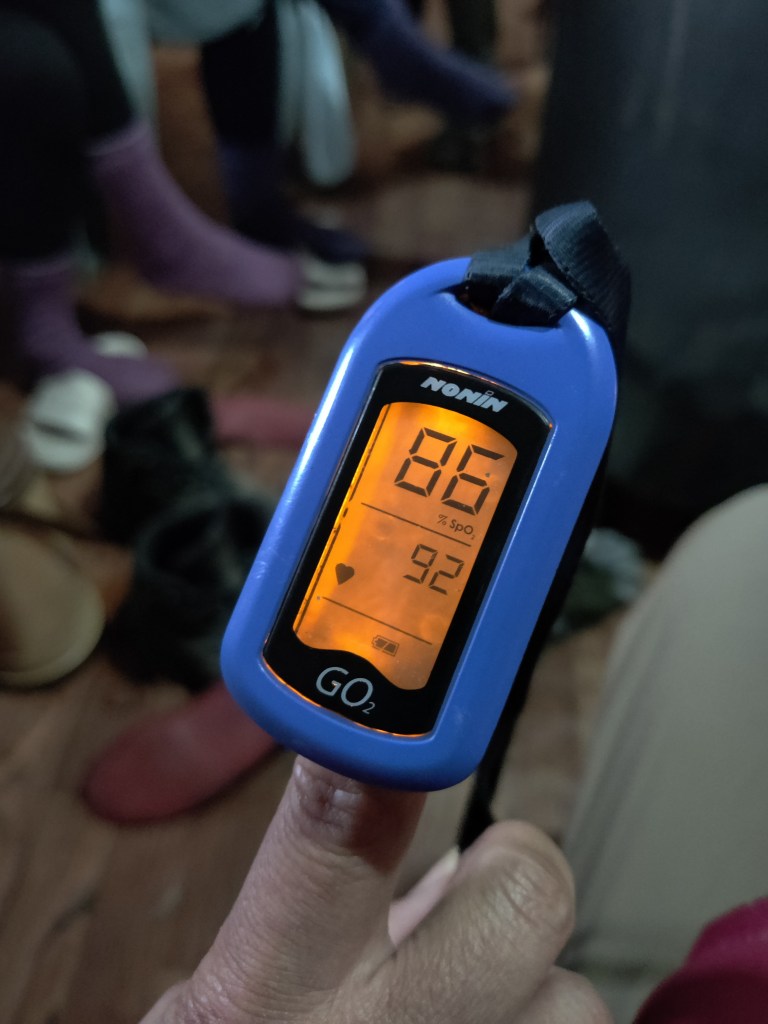
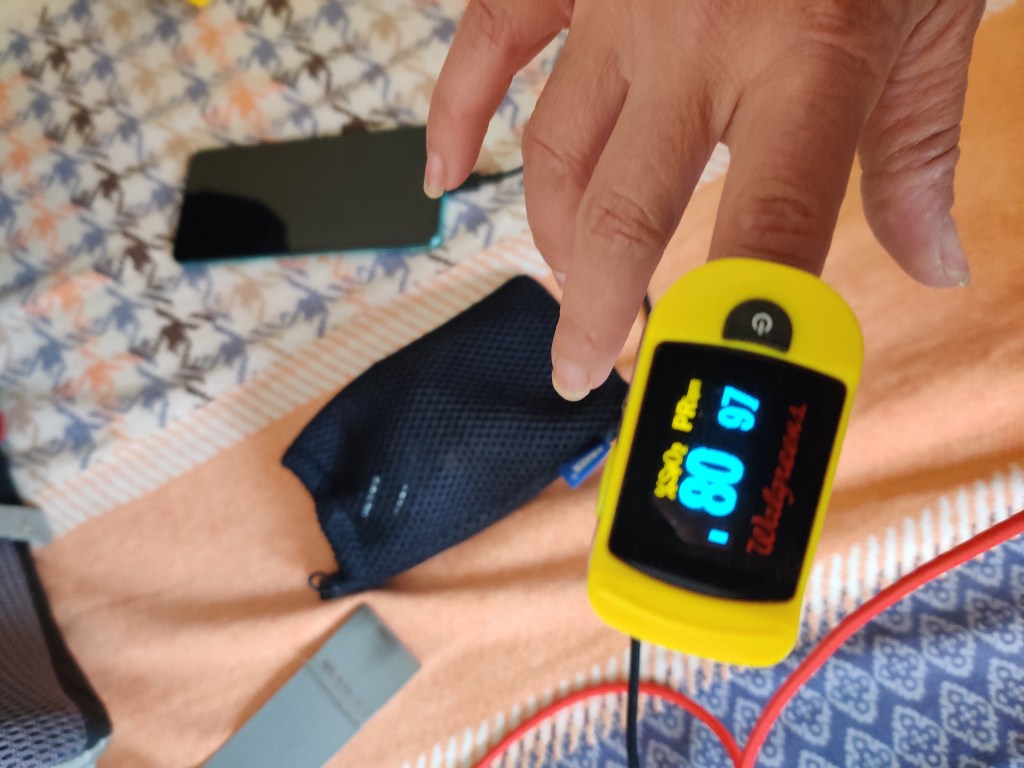
Make sure to buy Diamox! It’s better to have it when you don’t need it, than need it and not have it. You can easily purchase Diamox in pharmacies in Nepal for about $2.00. No prescription needed! Diamox can prevent and treat MILD altitude sickness. But the only solution to moderate-worst AMS is to descend IMMEDIATELY. If you don’t have a guide, be in tuned with your body, bring a pulse oximeter and monitor your 02 levels.
If you’re flying in and out of Lukla, make sure to keep your pack within the weight limit of 33lbs.

TRAINING PREPARATION
You don’t need to be as strong as David Goggins to hike the Everest base camp but being physically fit can make the journey more enjoyable. EBC trek involves huge elevation gains that can really test you mentally and physically. If you don’t have that much experience in multi-day backpacking, hiking, and trekking. It’s best to start practicing at home. If you live near the mountains, get as much elevation training as you can. But daily workout regimen such as cardio and weight training is enough. Luckily I live in Southern California, we have mountains up to 14,000 ft. I was hoping to climb Mt. Whitney and Mt. Baldy before my trip but the permitting process (for Mt.Whitney) and weather was not on my side.
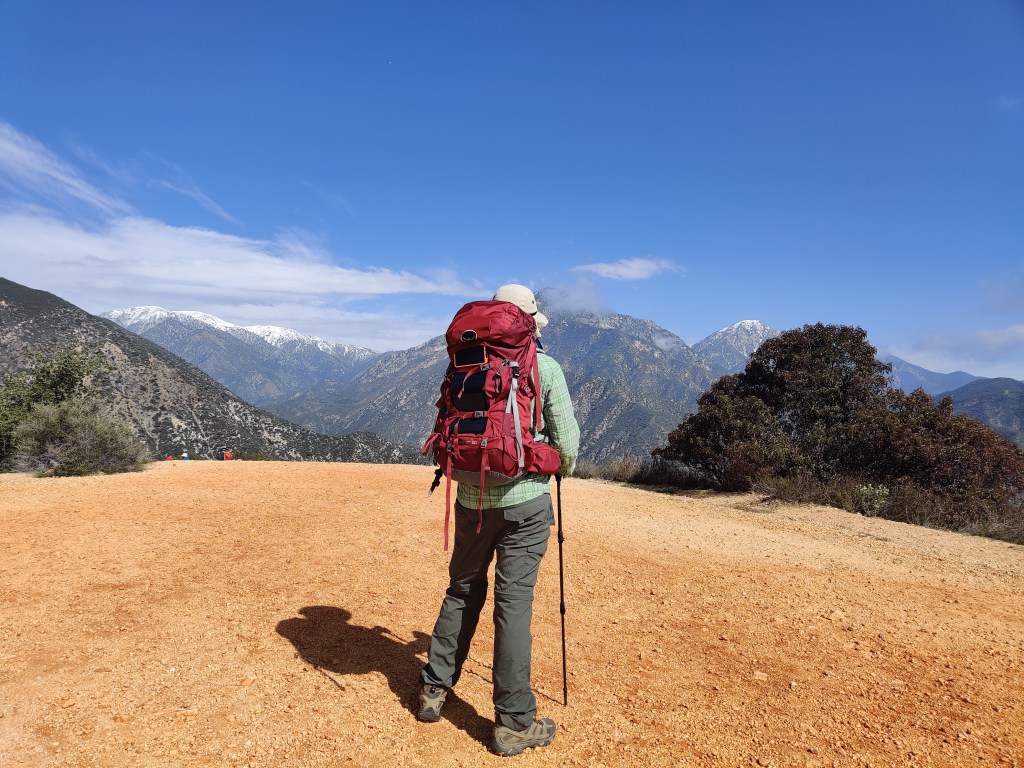
I was fortunate enough to hike Cucamonga Peak, Ontario Peak, Mt. Wilson, Lone Pine Lake, and Big Pine Lakes. I also did a few hikes in Colorado and Utah. My daily workouts involved walking with weights at least 5 miles a day, legs and arms training 2x a week, jumping ropes and back exercises 3x a week.

We also trained with our backpacks, it’s important to get used to the weight of your backpack. If you’re planning on carrying a 15lb pack try to train for 18-20lbs, it’ll make 15 lbs seemed easy.

PERMITS
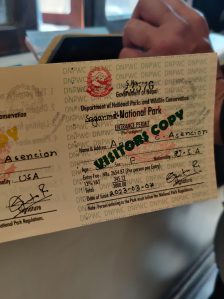
You need 3 things to independently trek to Everest Base Camp.
- Sagarmatha National Park Permit: 3000 NPR/$23.00
- TIMS Card: 2000 NPR/$16.00
- Khumbu Pasang Lhamu Rural Municipality Permit
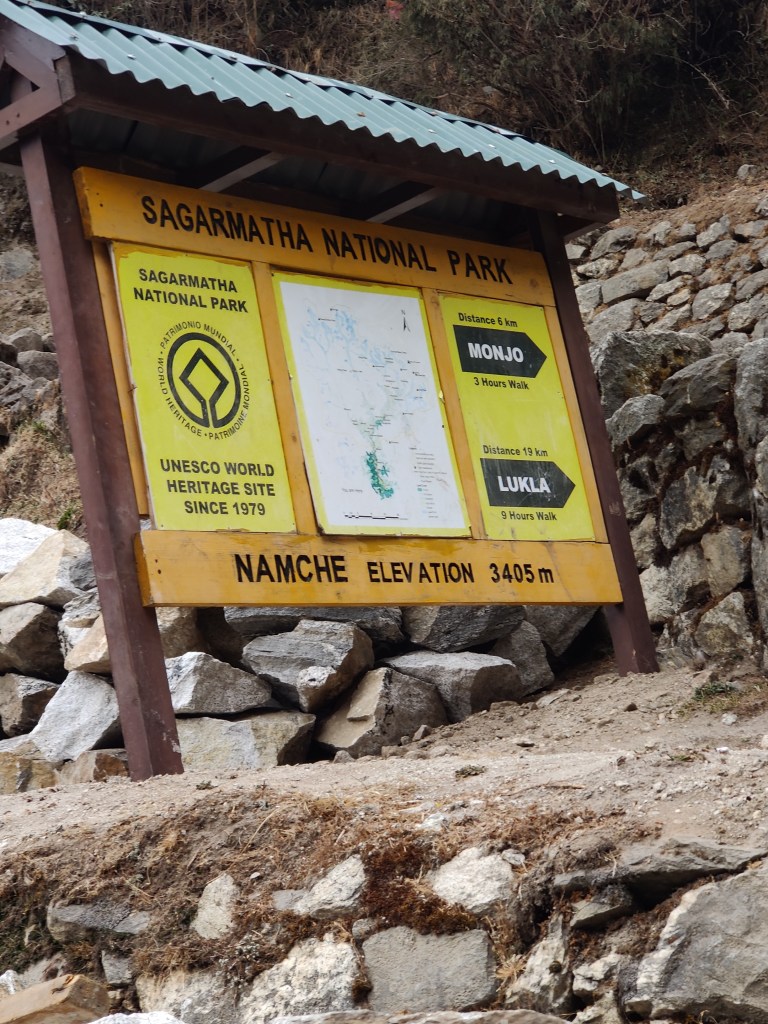
You can purchase both the TIMS and Sagarmatha National Park permit at Nepal Tourism Board Office, Pradarshani Marg, Kathmandu 44617. You can also obtain the park entrance permit at Monjo, but it’s better to get this done in Kathmandu. The line in Monjo can be long, if you already have the permit all you need to do is go to the check point and have your permit stamped.
TIMS card is required for everyone traveling independently. They suggest checking in using your TIMS card information every 2-3 days during your trek, this is how they monitor trekkers. Make sure to bring 3 passport photos.
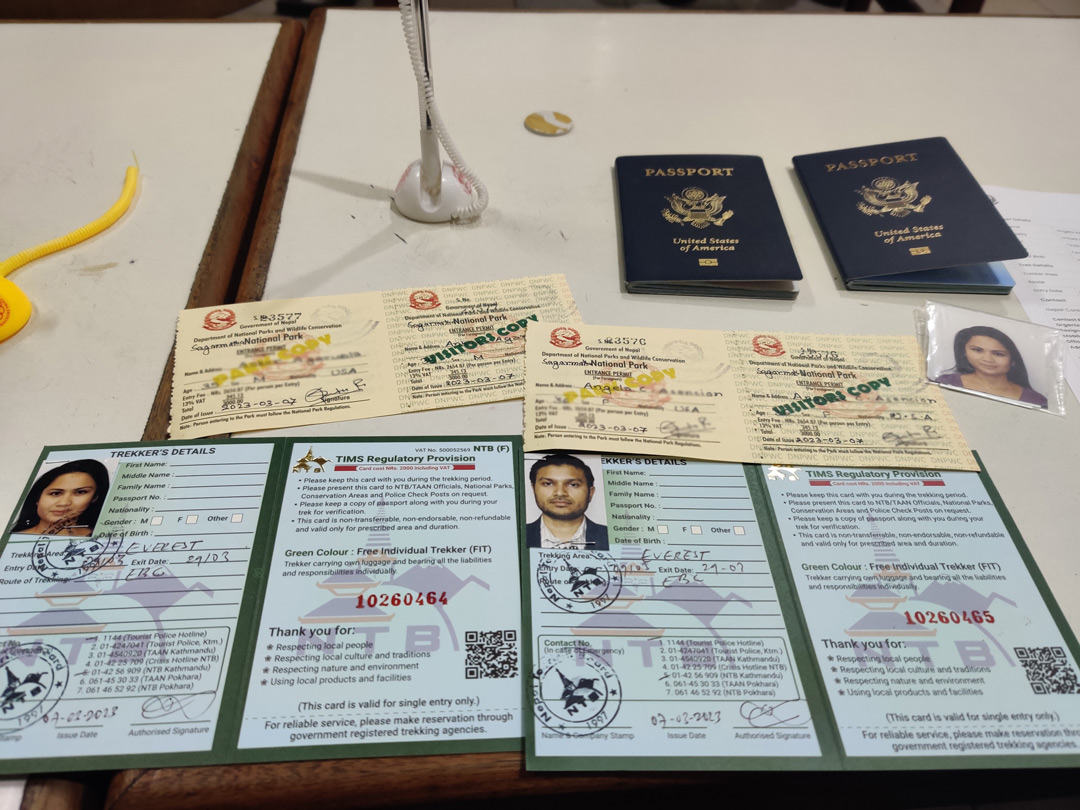
Khumbu Pasang Lhamu Rural Municipality Permit: This permit was a bit confusing as we were told by the NTBO staff that we have to get this permit but none of the checkpoints after Lukla was selling it. We started our trek in Bupsa and so we did not get a chance to stop by Lukla. At the check post, you will have to show all your permits. However, based from our experience as of March 2023, If you started your trek anywhere else other than Lukla then you will not be required to have the Khumbu Pasang Lhamu Permit.
BUDGET
The amount of money you’ll spend during your trek will depend on where you stay, the season (high season means more expensive), and your lifestyle. Our daily budget for our trek was 35.00 per person for 16 days. Make sure to carry enough cash in Nepali rupees. you will not find any functioning ATM after Namche Bazaar. The exchange rate along the trekking route was also very low. Get all your cash in Kathmandu!!! And whatever daily budget you have, make sure to have extra. Some tea houses and restaurants accept credit card payments for an extra fee. Absolutely do not rely on your credit cards, other than the extra fees, most times the internet will be too slow to process credit card payments.
There’s quite a list of things you need to consider in trekking to EBC independently, but there is nothing a good research can handle. Once you know when to travel, the route, the gears needed, budget, and the permit requirements. You can then assessed if going without a porter or a guide is ideal for you. The Everest Base Camp trek is not a technical hike, the most important thing you have to watch out for is the altitude. Be honest with your own skills and training as this can affect your trek. Planning your own EBC trek is fun and challenging, once you feel ready, you just have to go for it!
